
5 tips to Improve your Real Estate photography using an Iphone
Posted on 18th August 2021 at 12:21
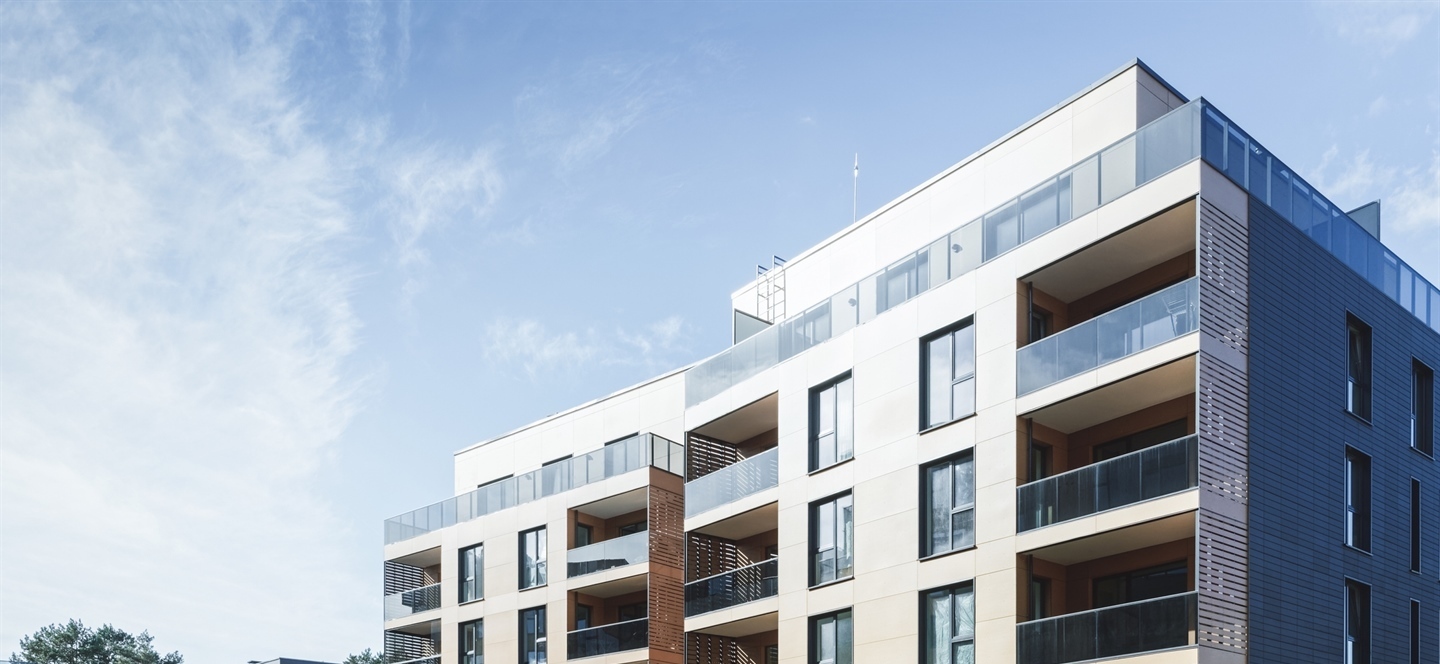
When you are looking to show your real estate property to market, the quality of your images is paramount, as this is effectively the first time buyers/renters will view your property. So check out these five simple hacks to have your real estate pictures looking top of the market.
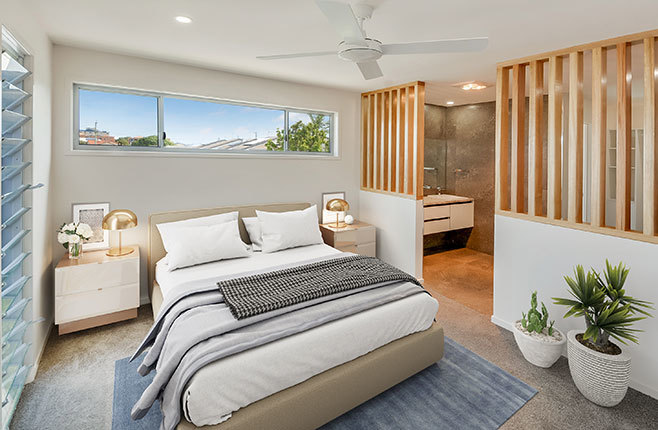
1) Stage the property. You don't need to be an interior designer to make your property look photo-ready! Have a checklist of the areas you want to photograph before you start, although each pro 2 wide-angle shots of each bedroom, the kitchen, and the living room. 1 photo of the bathroom, unless it's incredibly beautiful or spacious. If you have a front/back garden, 1-3 images depending on how appealing All other rooms 1 image unless particularly appealing Minor things include removing clutter such as wiring, remote controls, mowing the grass, closing toilet seats and bin lids. Allow buyers and renters to envision what the property will look like when they move in. One good rule of thumb is less = more. In shooting interiors, don't photograph closets unless they're spacious or customized. At most times, a closet is a perfect spot to stash those small items until the photo shoot ends.
2) Utilising Natural Lights:
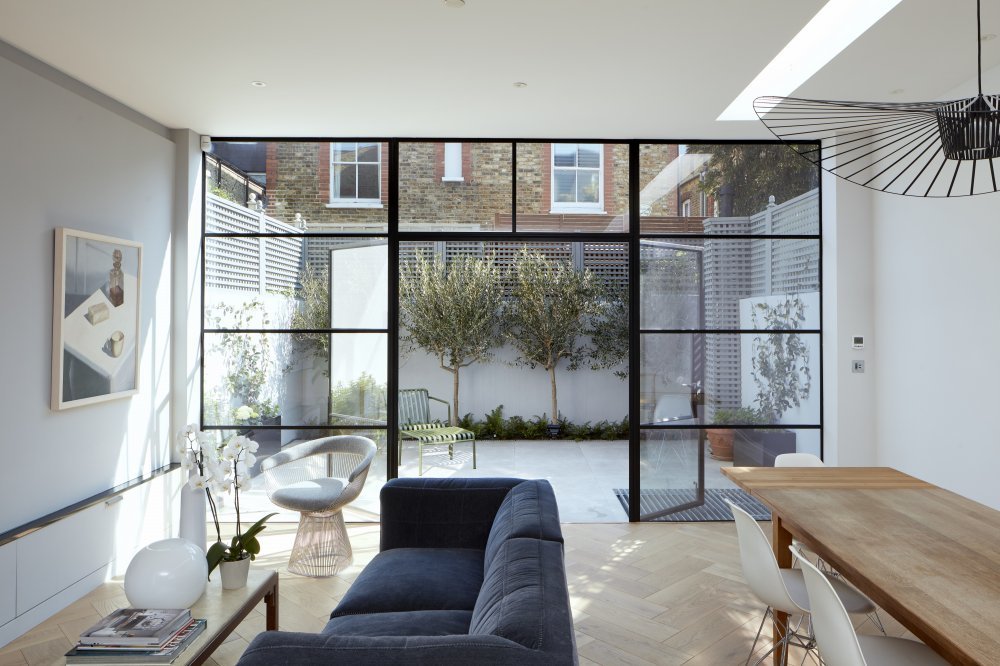
Although today's phones have the technological capabilities of the cameras of 30 years ago, it can be tricky to get the perfect shot without natural light; it is best to plan ahead to optimize the light for your photos whenever possible. The best time to shoot is during magic hours.s the period of daytime shortly after sunrise or before sunset, during which daylight is redder and softer than when the sun is higher in the sky.
If shooting using low light, use all the resources to your advantage. If the sun is setting, you can create a relaxing silhouette, Emphasize shadows, shoot near or in front of windows and other outdoor light sources.
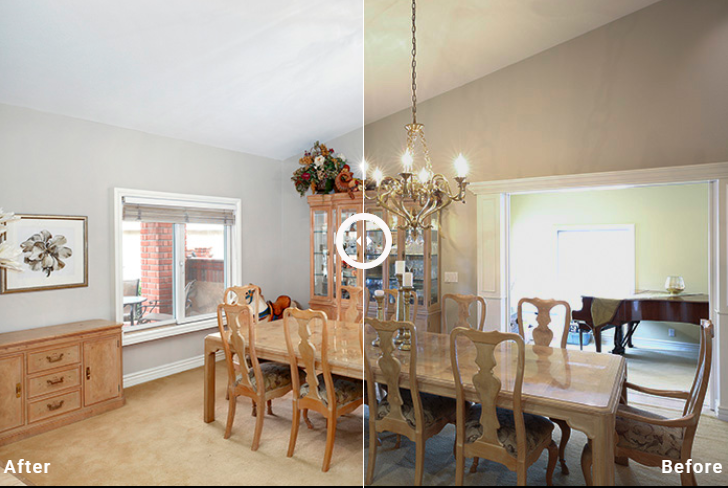
3) Fly on the wall perspective:
The fly on the wall perspective is exactly how it sounds, utilizing all components of a room by giving the person looking a complete look at everything in the room and making it seem more prominent because of our dept persecution. Take a photo as far into the corner of a room (don't be afraid to really squeeze in there) to help give viewers a complete perspective of a room.
5) Make use of all possible iPhone settings:
It can be fun to play around with possible settings for your shots :
Below listed are some basic settings you can use (and where to use them) to help with your property photos:
Ultra-wide camera: When you really emphasize all amenities in a room.
iPhone Portrait mode: This will give a studio lighting feel to a photo
Optical zoom: Photos without zoom always work best, but if you can't quite get close enough to the image you're trying to portray, make sure you use optical zoom.
Burst photos (best used if you're not quite getting the shot you want as it enables you to judge after)
The iPhone Camera grid: when staging a property, it's best to highlight all the features you want to line up on the grid.
AE/AF lock: This is invaluable when trying to achieve perfect iPhone focus
iPhone HDR: This setting allows you to optimize all exposure and is best used during low light

Share this post: